The golden ratio: This is how you hang up pictures in harmony
Hanging murals at eye level is not so easy! Often you think about how to perfectly stage your new wall pictures before you actually hang them. Which height and which hanging you ultimately prefer depends very much on the existing picture material. But how is it that some pictures, but also the arrangement of several pictures among each other, have such a harmonious effect on us?
Do you have very special works of art that deserve a special place on your wall? Have you already thought about how your picture compositions can hang particularly harmoniously on the wall? With our tips, you can design your murals according to the golden ratio and arrange your pictures into a coherent overall picture.
We show you how to hang your pictures harmoniously on your wall with the help of the golden section! And we also provide you with the matching hanging system.
Our hangers for harmonious picture fixing
GalleryGAEKKO
The adhesive picture hanger for aluminum prints, plexiglass & acrlic prints
CanvasGAEKKO
The adhesive picture hanger for canvas, stretcher frames and wooden frames
PictureframeGAEKKO
The adjustable picture hanger for any kind of framed pictures
PhotoGAEKKO
The adhesive picture hanger for photos & postcards
PosterGAEKKO
The adhesive picture hanger for posters & art prints
Always find the perfect place with our picture frame hanger
The golden ratio is actually a mathematical equation or a ratio that is also very important in art and architecture. However, the golden ratio can also be used to hang your murals. The principle is based on the assumption that objects (in our case pictures) arranged in a ratio of 62 to 38 percent are perceived by the human eye as particularly harmonious.
In more mathematical terms, the golden ratio is the division of a distance into two sections. The smaller section should be in the same proportion to the larger section as the larger section is to the entire section. A concrete example is a picture that you want to hang above your sofa. According to the golden ratio, your picture should be two-thirds smaller in width and height than the sofa below it. Of course, it could also be several smaller pictures that have been combined into a picture group by means of a hanging. Even if you don’t want to measure the perfect ratio to the centimetre with a metre-measure or folding rule, you can roughly orientate yourself on the ratio 2:3.
The Golden Spiral: The extension of the Golden Section (for
mathematicians: Fibonacci Spiral)
The golden spiral is based on the basic idea of the golden section and is merely an extension. The golden spiral reflects an easily recognisable graphic form with
a series of ascending numbers. This shape is also the basis of various forms that occur in nature, for example the snail-shaped limestone shell of the nautilus. The golden spiral is an aid to quickly recognise which part of the picture is particularly harmonious. Often the golden spiral is already used in a harmonious composition, as we subconsciously perceive these proportions as particularly even.
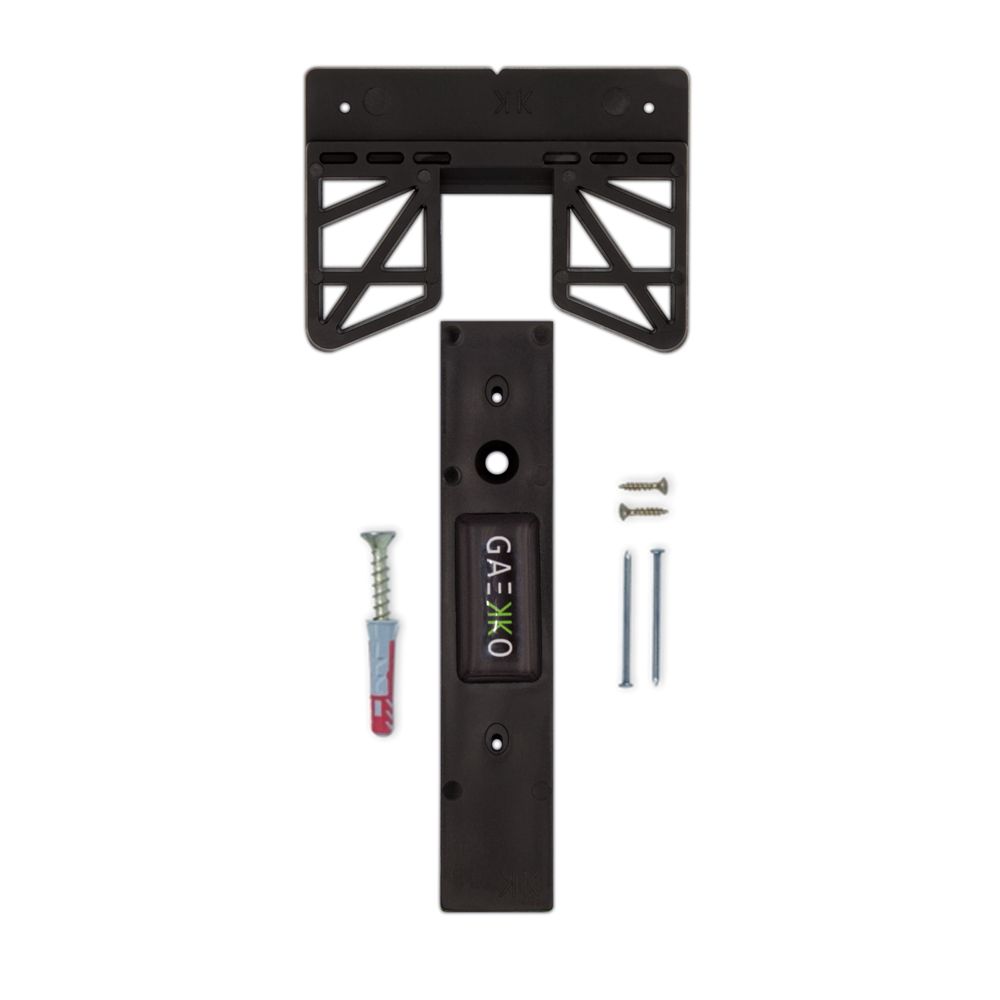
Our picture hanger for the perfect height and space
The adjustable picture hook for all mounted pictures
PictureframeGAEKKO
With the innovative hanging system by GAEKKO, you can attach every mounted picture with a pre-assembled hanging system (for example: picture loops, sticky plates, picture wire, barbed hooks) to a wall.
The hook can be shifted flexibly in a horizontal, vertical or even diagonal without having to knock holes into your wall.
How do I apply the golden ratio to my wall and my hung pictures?
The golden ratio can also play an important role when hanging pictures. In six simple steps, we will show you how to apply the golden ratio to your pictures, with or without a frame:
Measure the height of your wall from floor to ceiling.
Then divide the measured ceiling height by 8 and multiply by 5.
On the calculated height (measured from the floor) draw a thin mark with a pencil. If you have calculated and drawn in correctly, 5/8 of the ceiling height should now be below the line and 3/8 above.
Do you still follow us? Unless you have an old flat with a ceiling height of 5 metres, your calculated height from the floor should be somewhere between 1.50-1.70 metres.
Then measure the height of your murals and mark a line from the bottom frame which is 5/8 of the total height. Draw a line: Draw a thin line (e.g. with a pencil) at the calculated height (1.56 m in the example), measured from the floor.
Then you can arrange your pictures on the wall. The marked 5/8 line of the picture should land on the 5/8 line of the wall.
Simply put, this means that if you have several wall pictures of different formats, they will not hang flush, but overlap each other at the top and bottom. Does the effort seem much too high to you? But the result will definitely justify the effort: The overall picture of your picture frames will look balanced and harmonious.
How do I hang several pictures according to the rules of the golden section?
Do you want to hang several pictures on your wall and create your own photo wall, for example? Or would you like to arrange a whole collection of pictures with many picture frames? Do you want the picture composition to look particularly harmonious?
Here, too, you should not disregard the division ratio for the arrangement of a certain harmony on the wall. For example, if you want to hang one of your motifs on the wall as a large mural, first look for the right place where it will look best. Imagine that you divide your wall into nine equal thirds like in a game of Tic Tac Toe. Your wall is now divided into nine equal rectangles as shown in the photo. It is easy to see that the centre of the square in the centre is the right place for your picture.
If you want to hang several paintings, with or without frames, in different colours and shapes on your wall at the right height, focus on the four intersections around the central rectangle. Many galleries present their artworks in this way. This makes your wall design look very calm and radiates an additional harmony.
How do I hang my pictures at the right height?
There is a fairly simple answer to this question that fits in 99% of cases: A picture should always be hung at eye level on a servant’s wall in a room. Professionals rely on the same distance of 1.50 m from the floor of your room to the centre of the picture. This ensures that your pictures and picture frames are always hung on the wall with their centre at the eye level of an average-sized person. This rule of thumb is also used in many museums.
Of course, the right height of your pictures also depends on other factors: How big is the picture you want to hang on the wall? How high is the room in which you want to hang your picture? What is the surface area of your flat? Do you mostly look at the picture sitting down or standing up? This is the case, for example, in rooms such as living rooms or bedrooms. Here, the centre of your picture can be slightly below eye level because of the sitting position. In a stairwell or hallway, on the other hand, you can mount your pictures at standing height, as we have described, to create harmony with the surroundings.
Fixing pictures made easy: the GAEKKO hanging system makes it possible
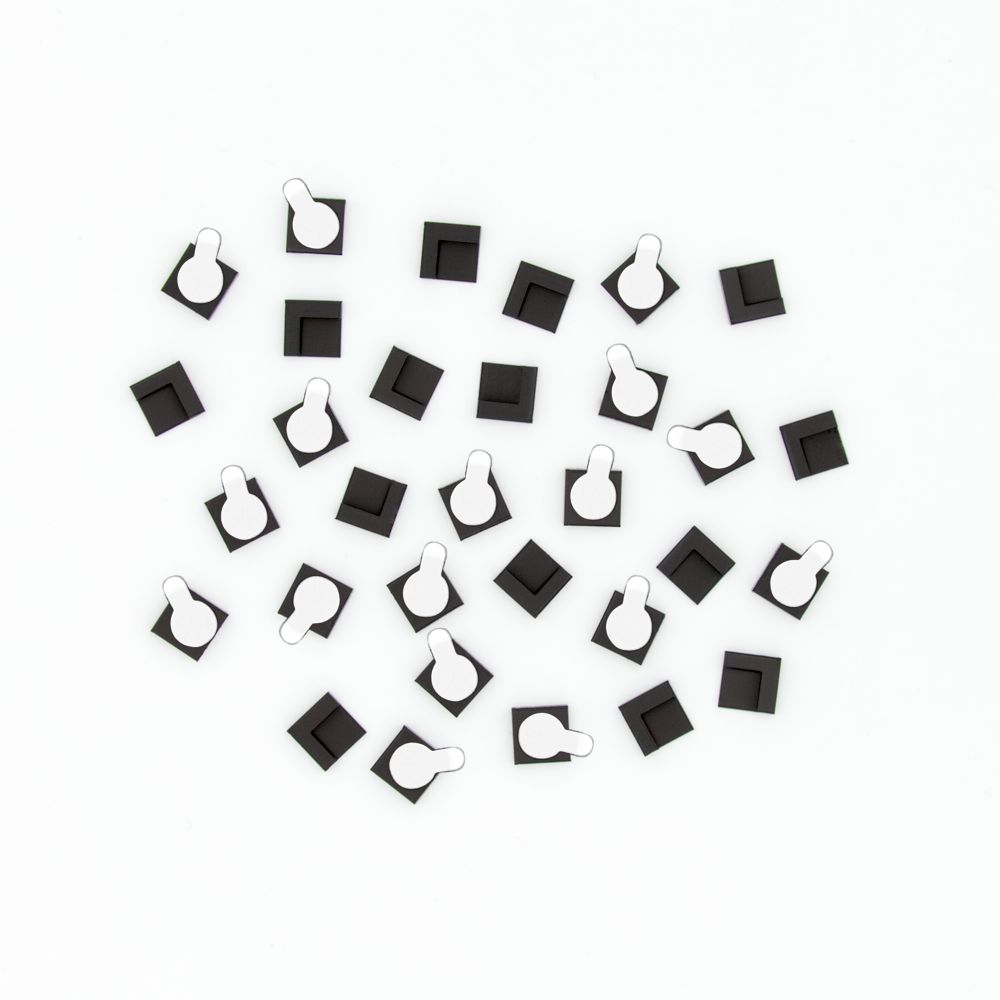
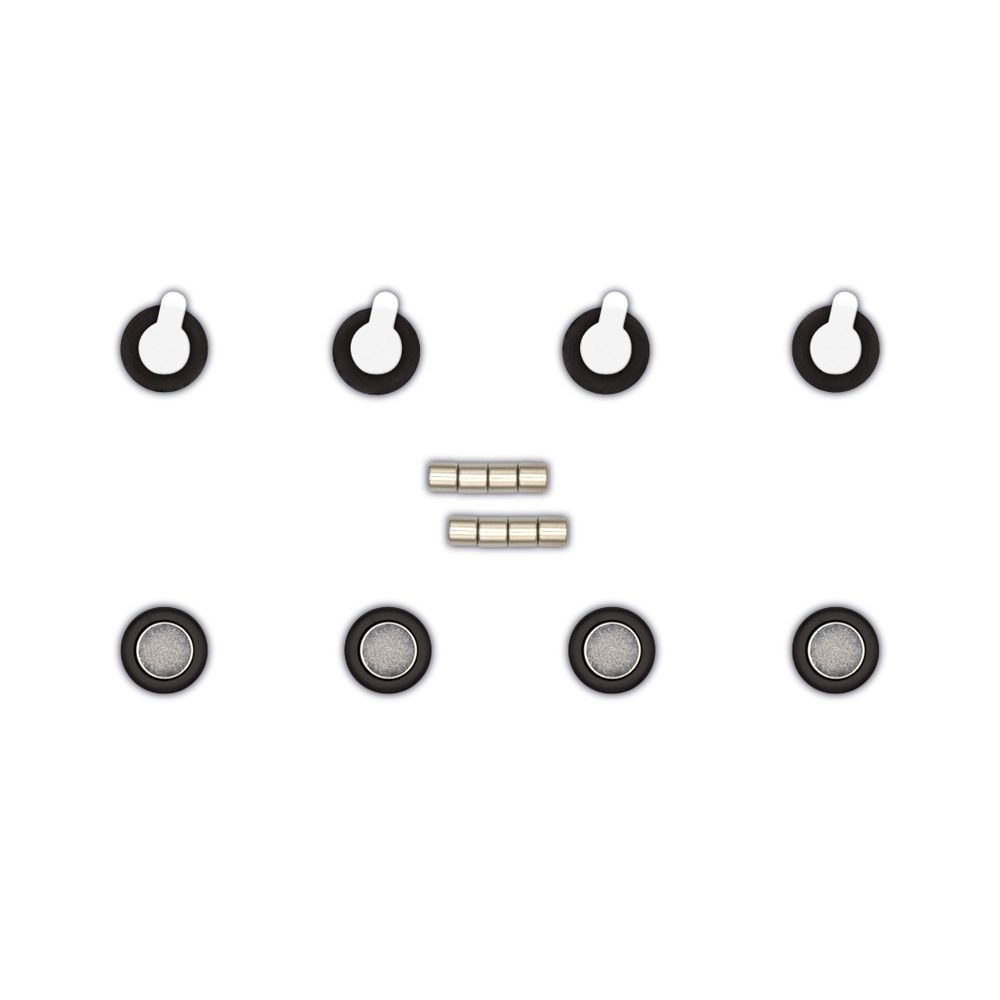
A simple nail is certainly the quickest and easiest way to hang up pictures. When it comes to large and heavy frames, you usually can’t get around dowels and screws. The easiest way to attach light pictures to the wall without nails, dowels and screws is definitely with a self-adhesive picture hook. This is especially useful if you don’t want any holes in your wall.
We have developed a hanging system that combines all three options: you can glue, nail or screw our hangers to the wall. This gives you flexibility and allows you to attach your pictures to your wall in all three ways.
Use a spirit level to align the hanger on your wall. You can easily attach the self-adhesive module to the back of your picture frame. Then you can thread your picture with the glued module into the hanger.
Discover our self adhsive picture hooks for all kind of pictures
GalleryGAEKKO
The adhesive picture hanger for aluminum prints, plexiglass & acrlic prints